VScode 中 Python 开发环境的配置
我们以 VScode 作为开发环境,配置 Isaac Lab 的 Python 开发环境为例子,讲一讲在 VScode 中如何配置 Python 环境。
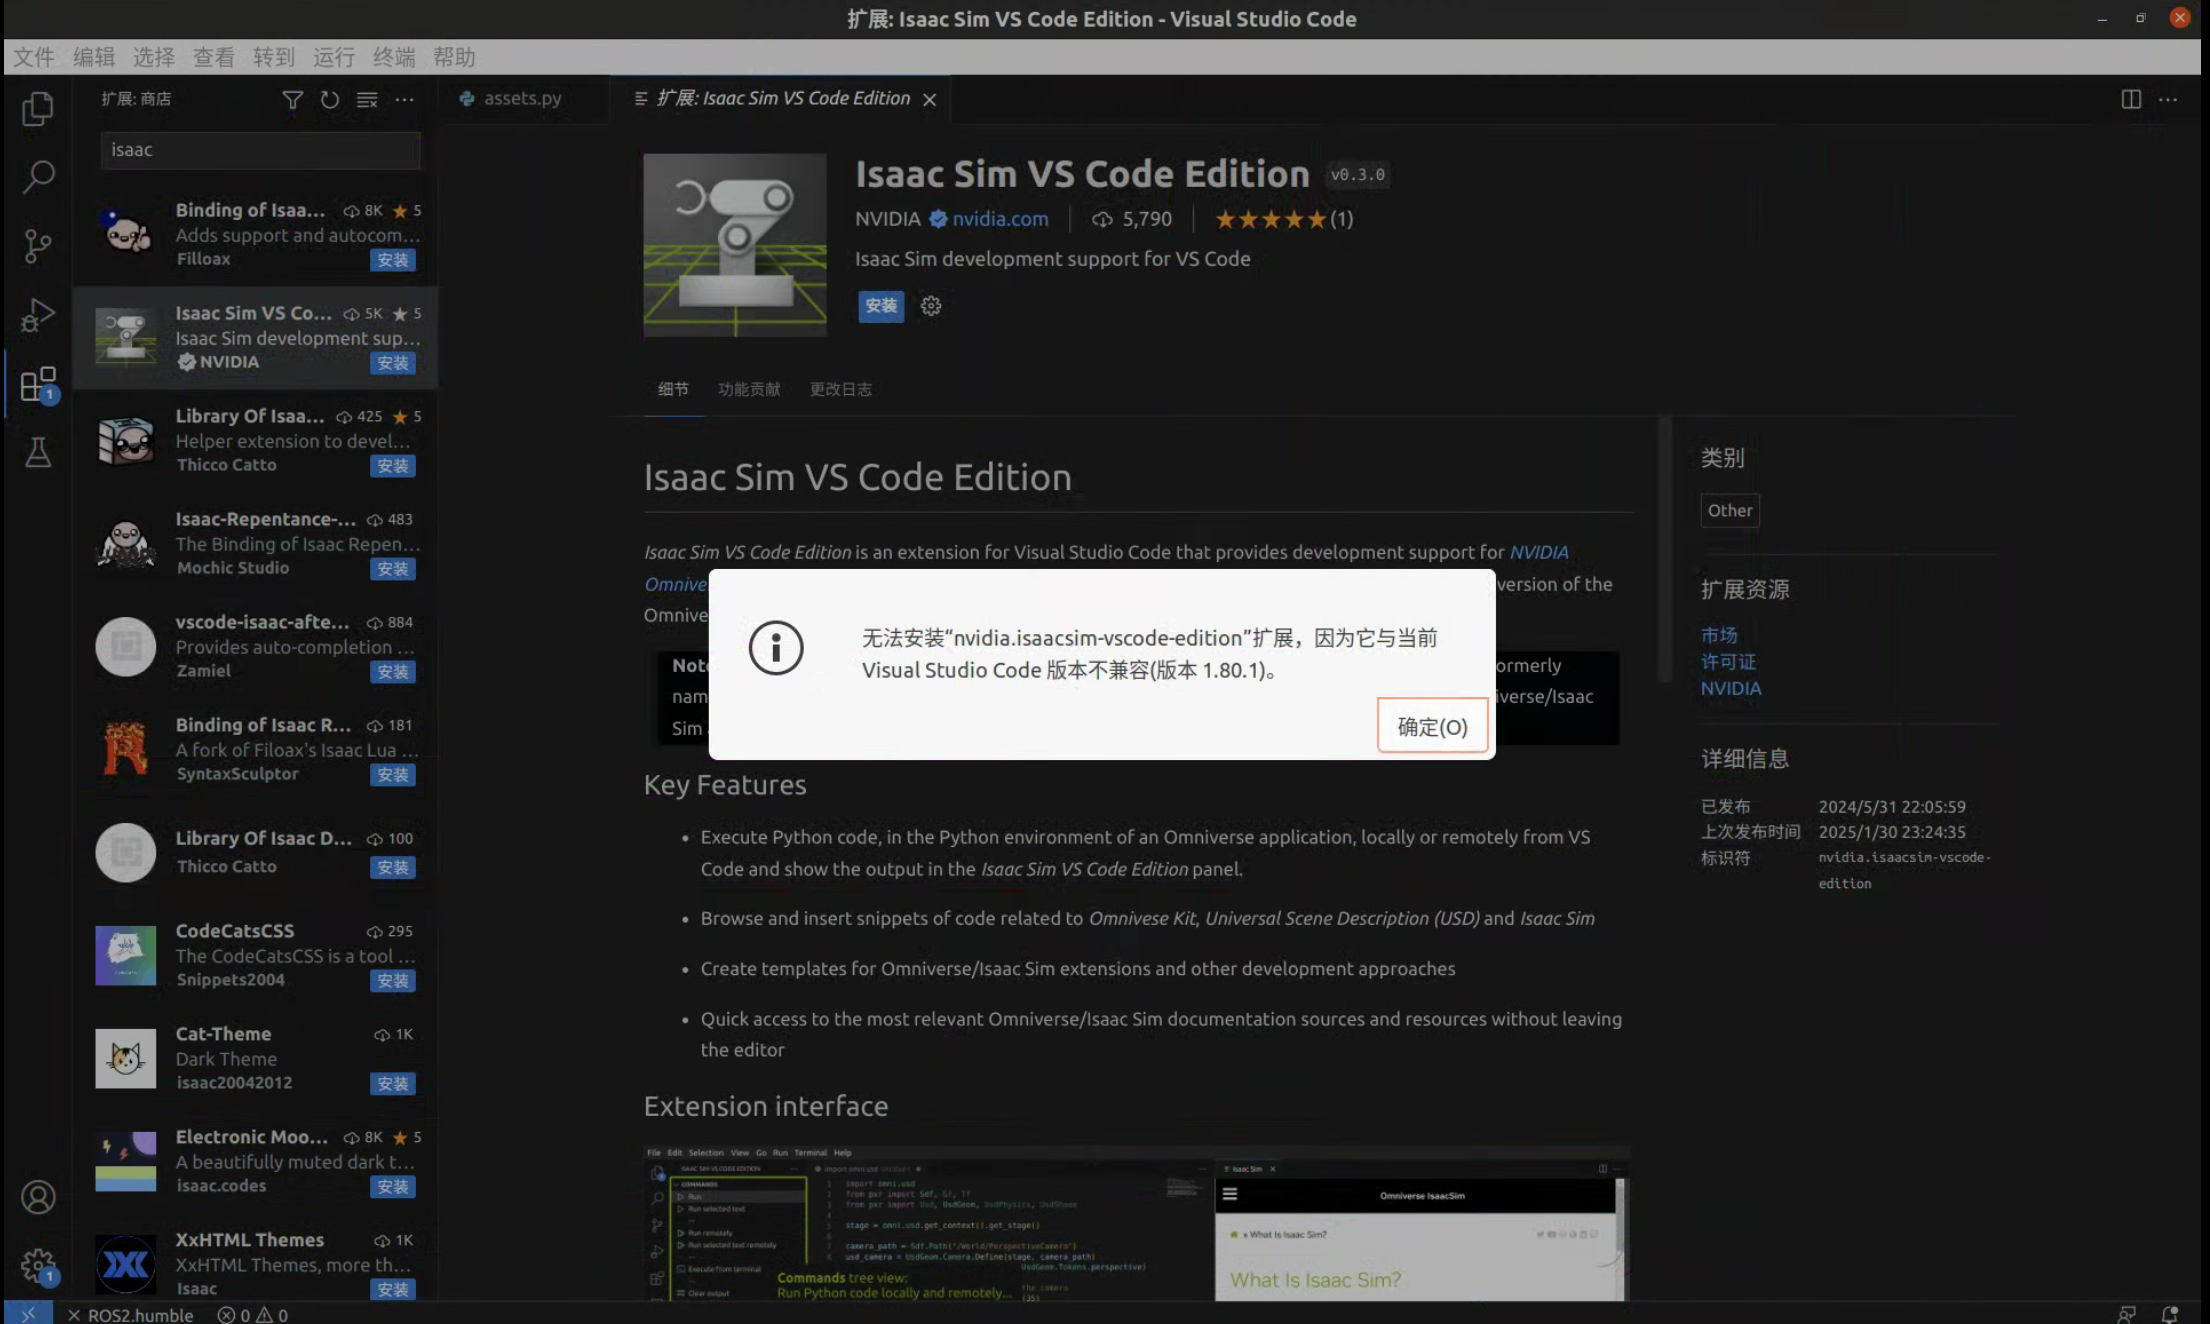
在 VScode 中安装 Isaac Sim 插件(非必要)
打开 Isaac Lab 的 Python 项目
Visual Studio Code 已被证明是开发 Isaac Lab 的宝贵工具。Isaac Lab 存储库中包含用于设置开发环境的 VSCode 文件。
这些文件包含在 .vscode 目录中,并包括以下文件: .
bash
.vscode
├── tools
│   ├── launch.template.json
│   ├── settings.template.json
│   └── setup_vscode.py
├── extensions.json
├── launch.json  # <- this is generated by setup_vscode.py
├── settings.json  # <- this is generated by setup_vscode.py
└── tasks.json
请按照以下说明操作:
- 在
Visual Studio Code IDE上打开 IsaacLab 目录 运行 VSCode 任务 - 方法是按下
Ctrl+Shift+P,选择任务:运行任务并在下拉菜单中运行setup_python_env。
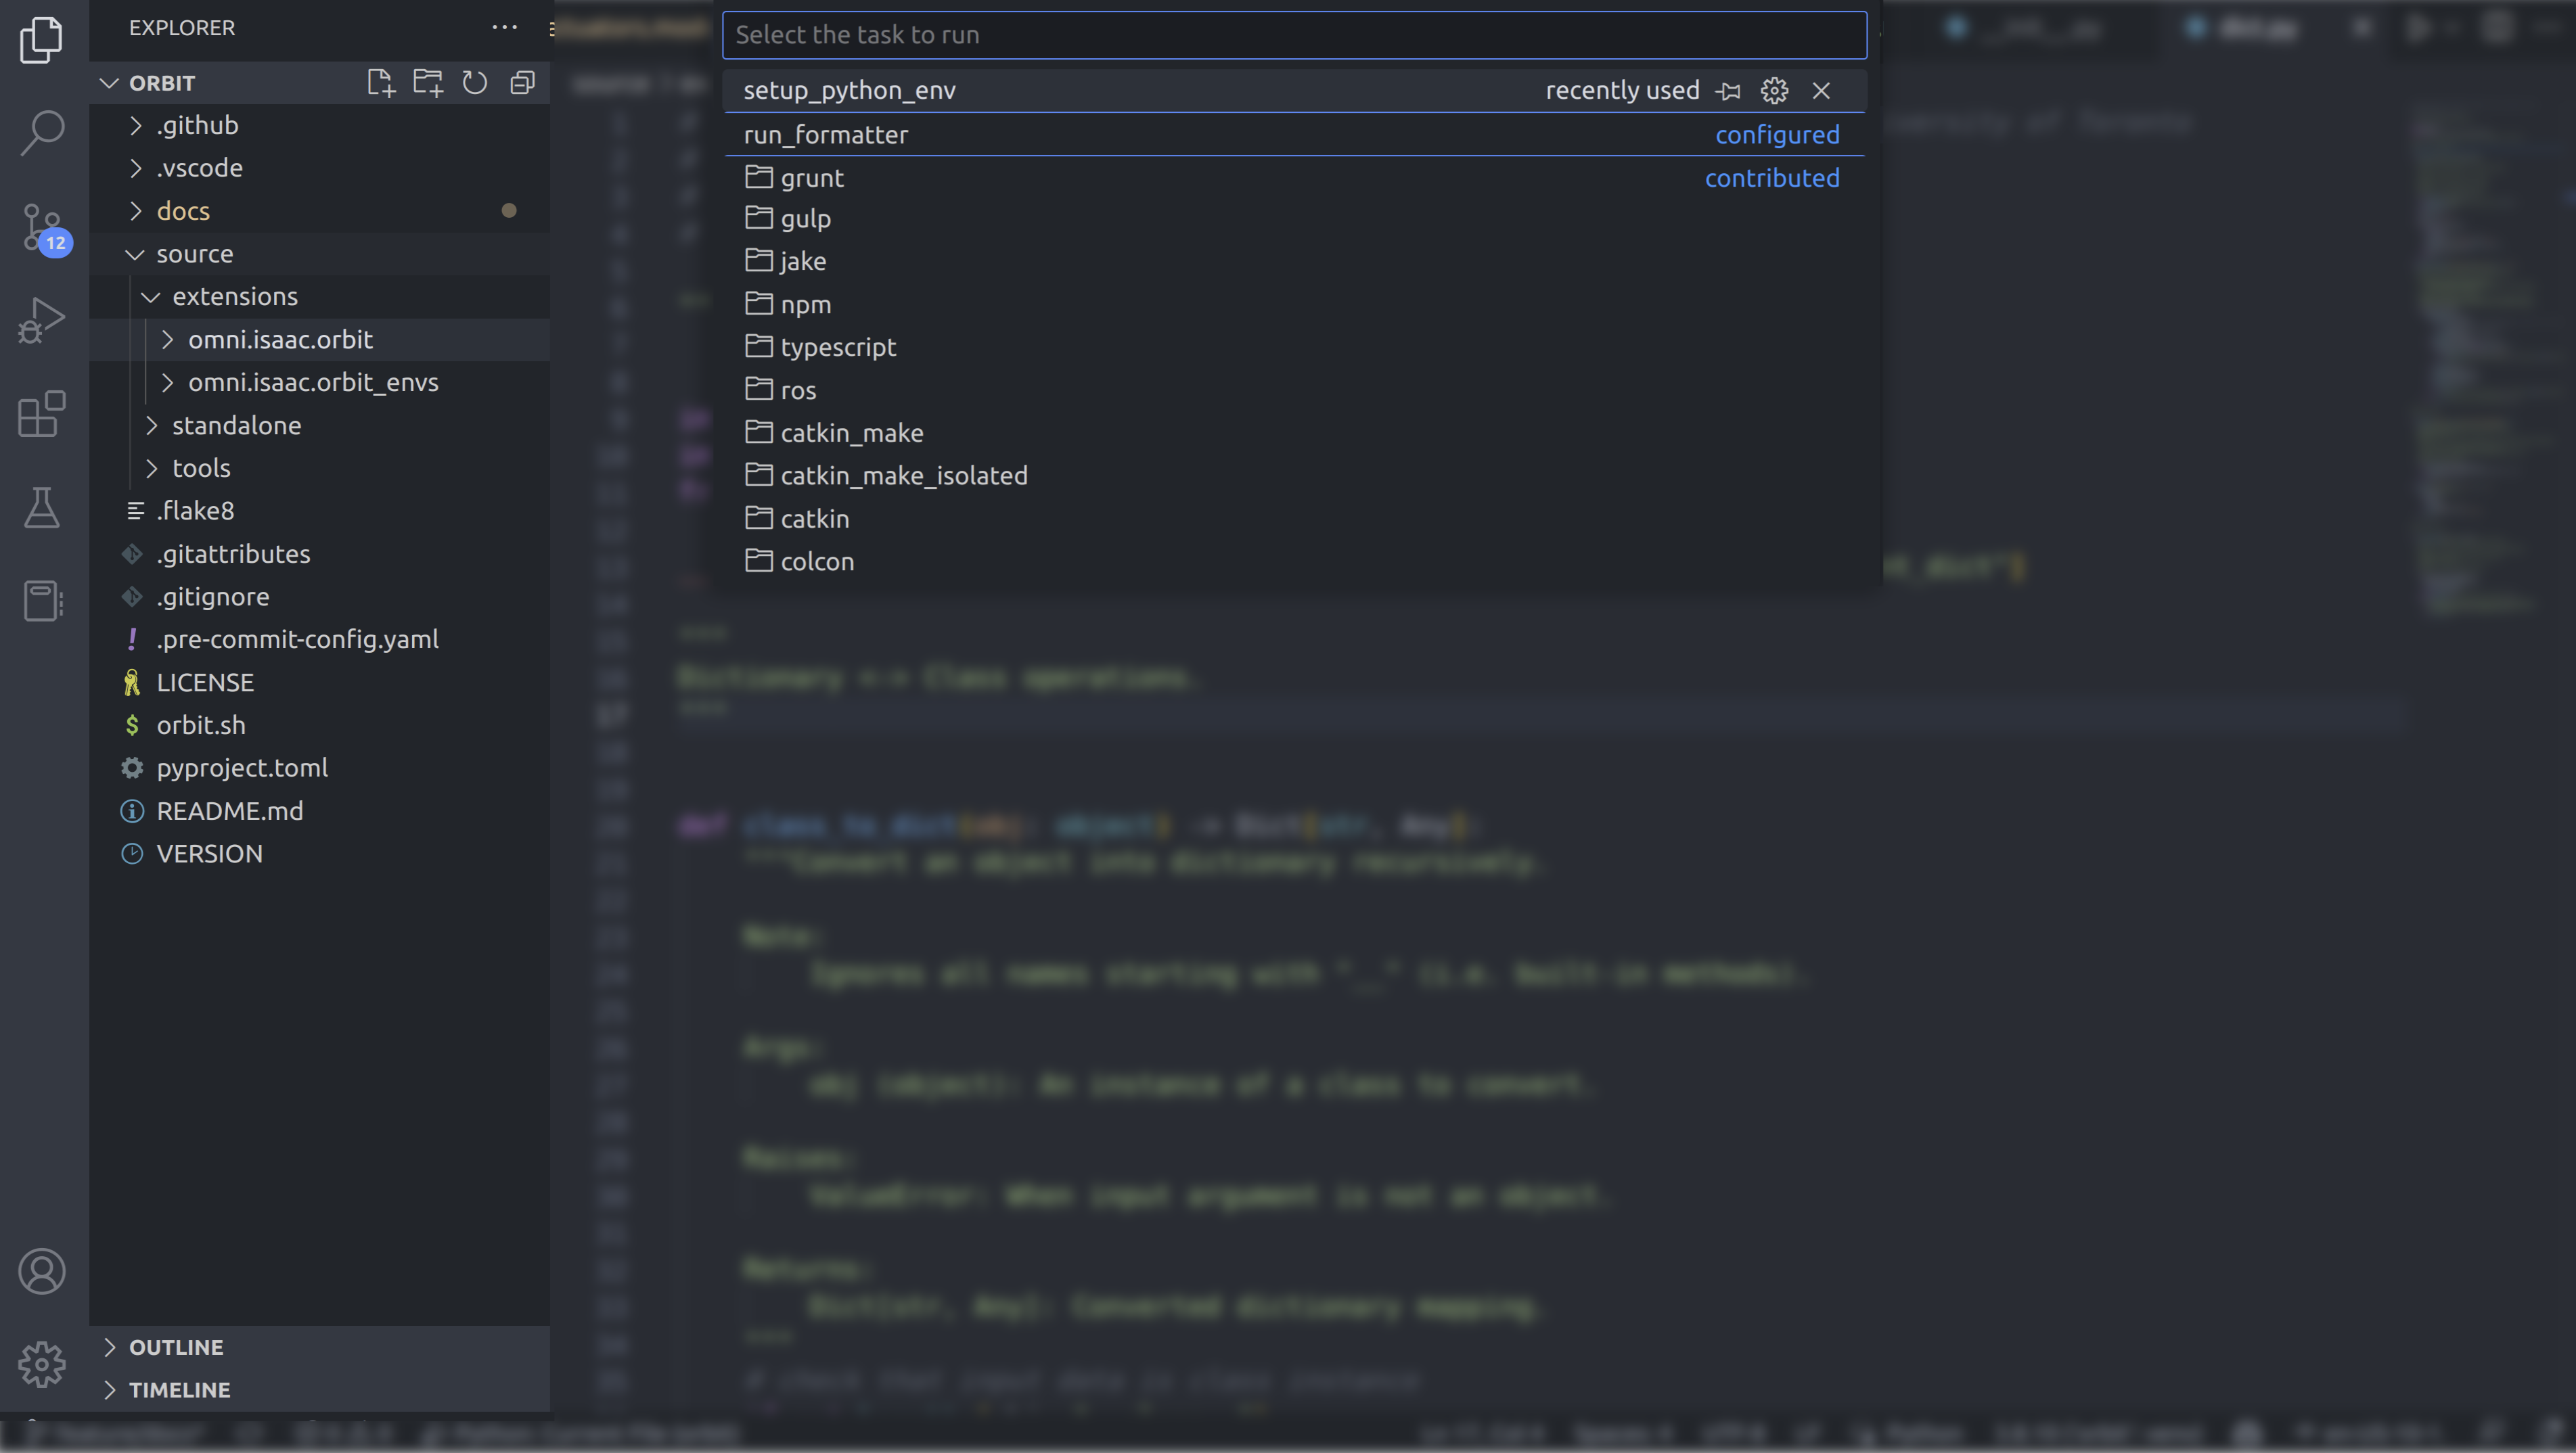
如果一切执行正常,应该会创建以下文件:
- .vscode/launch.json:包含调试 python 代码的启动配置
- .vscode/settings.json:包含 python 解释器和 python 环境的设置。
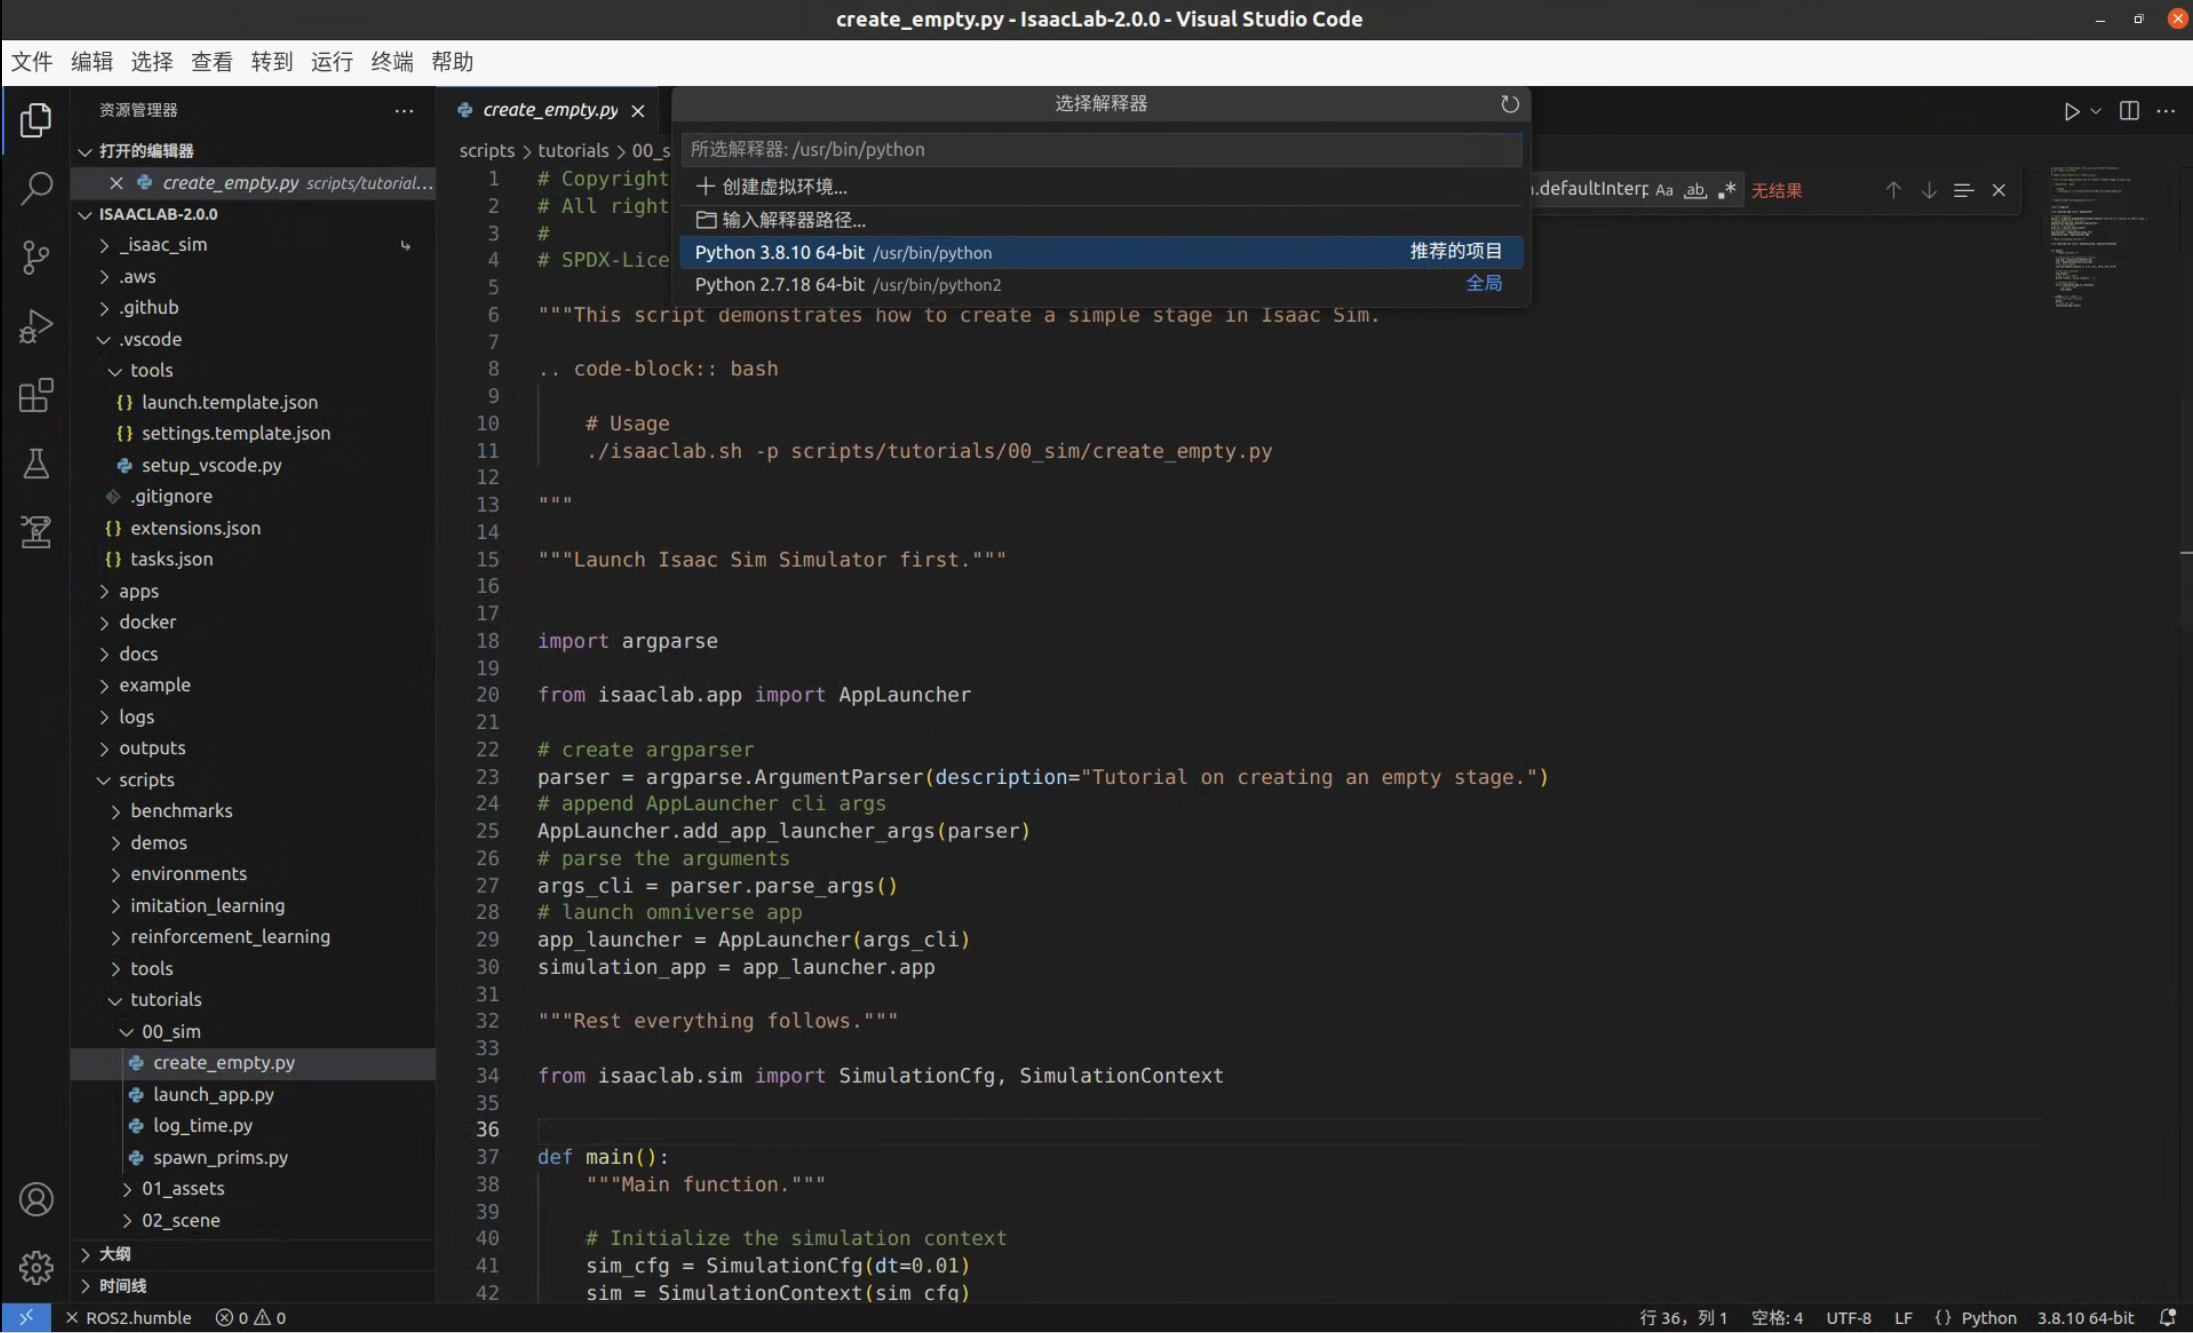
配置 Python 解释器
在提供的配置中,我们将默认 python 解释器设置为使用 Omniverse 提供的 python 可执行文件。这是在 .vscode/settings.json 文件中指定的:
json
{
   "python.defaultInterpreterPath": "${workspaceFolder}/_isaac_sim/python.sh",
}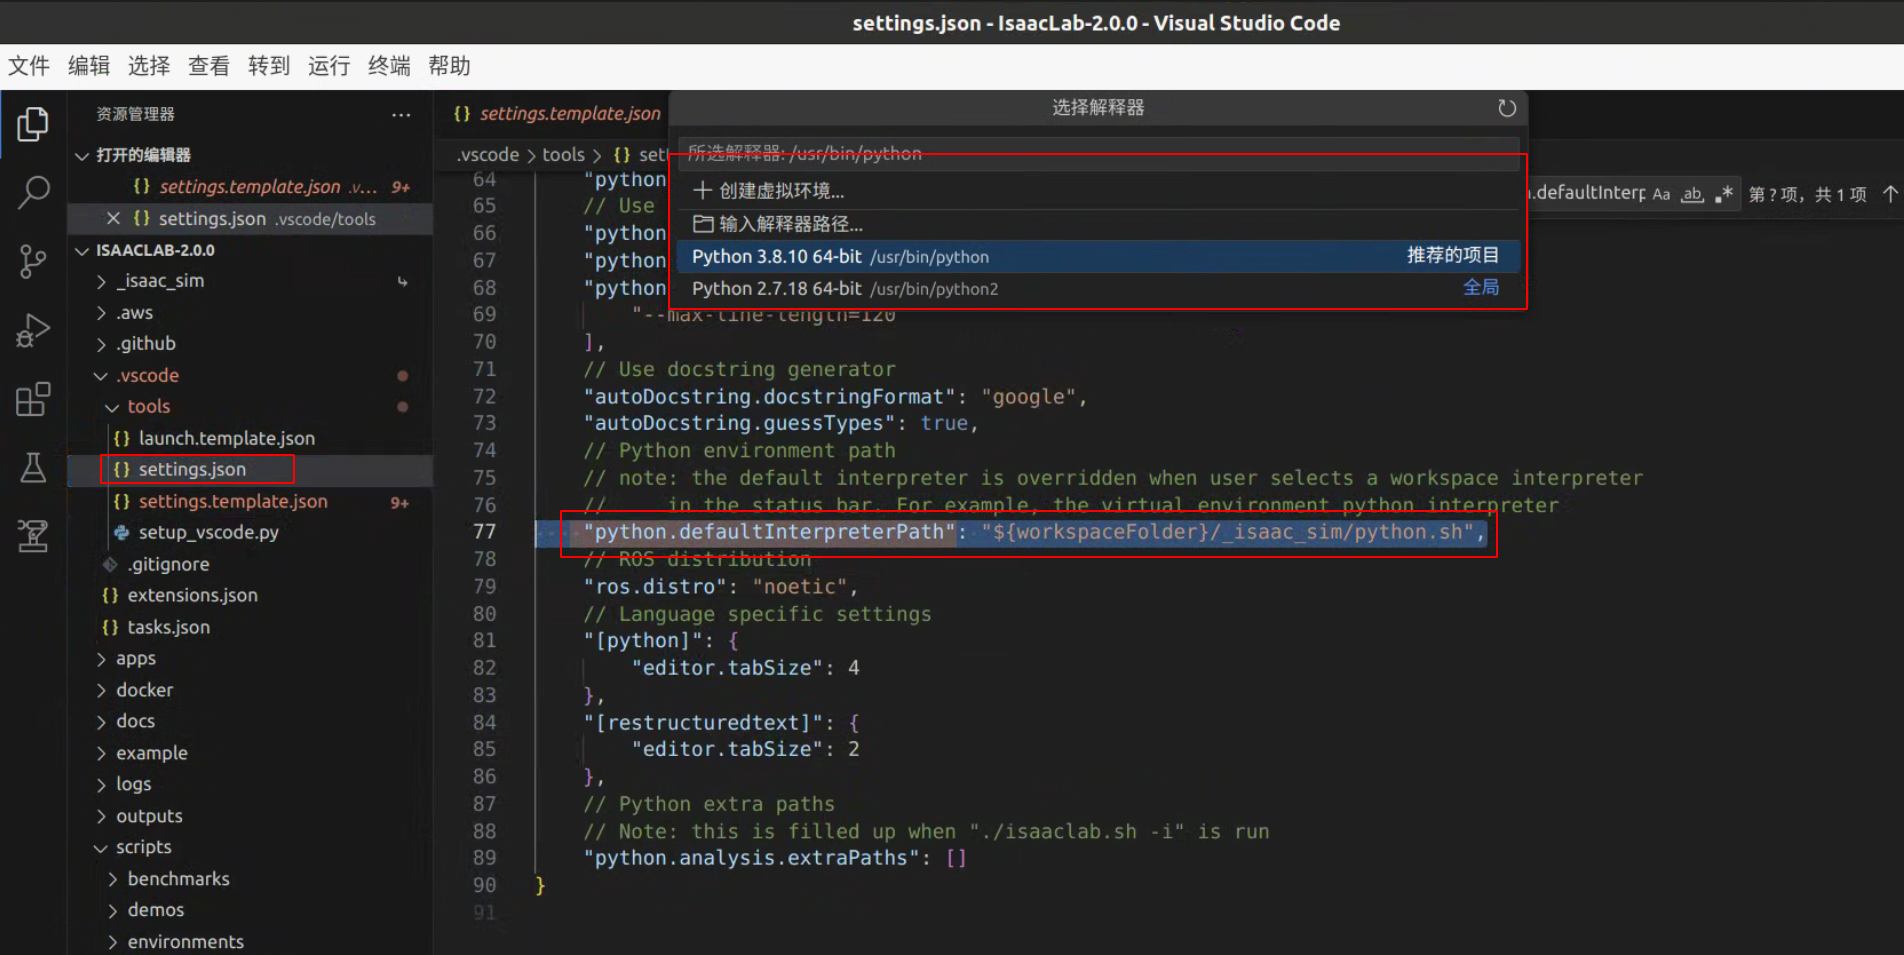
如果你想使用不同的 python 解释器(例如,从你的 conda 环境中),你需要在 VSCode 的左下角选择并激活你所选择的 python 解释器,或者打开命令调板 (Ctrl+Shift+P) 并选择 Python 来更改所使用的 python 解释器:选择解释器。
有关如何为 VSCode 设置 python 解释器的更多信息,请参阅 VSCode 文档。